
I served this recipe to my fiancee for the first time a few months ago. He likes hearty food and I tend to eat lighter stuff because of my food allergies—also I don’t care for the “potato and ham swimming in cream” sorta meal. Anyways, after he downed the bowl and complimented me like 20 times, I asked him if he would be ok if that's the only mac and cheese I served him for the rest of our lives. He said “OF COURSE!” I was one happy girl.
This recipe is good.
And its not your typical “I’m gonna trick you into eating healthy” sorta recipe. Sure, its healthy, but its hearty, flavorful, and “cheesy”.
On top of all this, it is pretty easy and (for a homemade mac and cheese recipe) relatively quick to whip up. It also freezes well—which is great for people like me who don’t cook for a family of 5—and constantly have leftovers coming out my ears. I love pulling this out on weekends when I want something satisfying and effortlessly “gourmet” (ok.. maybe thats a stretch, but you get my point).
Now for the disclaimer.. My brother insists that it is not right to call this “mac and cheese” because there really is no cheese. This of course is true since it is vegan, but I don’t feel like calling it “pasta with squash-based-sauce-which-tastes-like-cheese”. So I’m gonna continue to call it “Vegan Mac and Cheese”.
What makes it “cheesy” you ask? That would be the “nutritional yeast”. It sounds (and looks) slightly unappealing but nutritional yeast is a delicious and versatile seasoning to have in your pantry. It works wonders when sprinkled over popcorn, blended in soups, or mixed into your favorite savory dip. You can find nutritional yeast at most bulk food stores, whole foods, or natural food stores (for all you western NY folks, Wegmans does carry it!). I also feel the need to mention that nutritional yeast is not the same as dry active yeast or baking yeast. Do not use these as a substitute for nutritional yeast in any recipe. It will be gross….The color of nutritional yeast is naturally that golden-cheese color and is an excellent source of B-vitamins. So as weird as it may seem, dairy-free or not, I encourage you all to give it a try—who knows, it may be your next go-to seasoning!
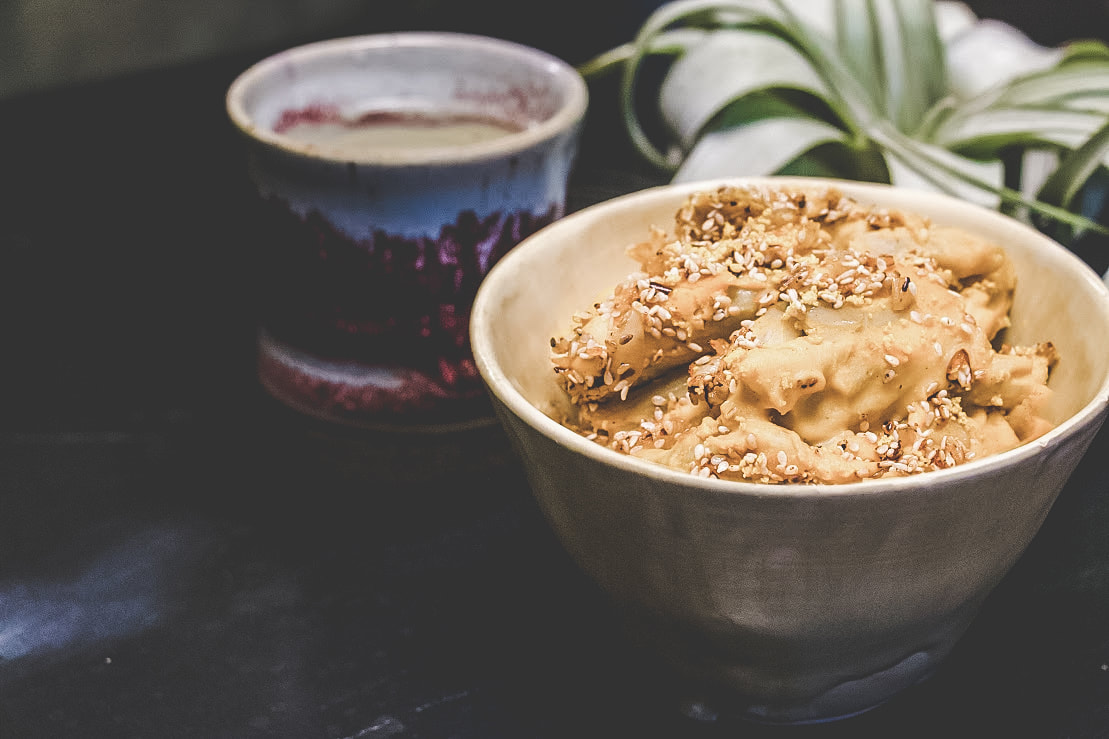
And finally, the topping on this is incredible. Of course you can leave it off if you don’t have time to make it, but it really does put this dish over the edge. The topping is gluten free, a little spicy, and adds a crunch to the saucy pasta.
I hope you love this recipe as much as I do! Share your thoughts or ideas for sides/toppings.
Vegan Mac-And-Cheese
Ingredients:
Pasta & Sauce
1 Large Butternut Squash
4 Cloves Garlic
1 tbsp. Coconut Oil
1 can (250g) Cooked Butter Beans
3/4 c. Nutritional Yeast Flakes*
1 tsp. Dijon mustard
2 tsp. Sea Salt (plus extra for sprinkling)
2 tsp. Paprika
1 tbsp Olive Oil
1 tsp. Apple Cider Vinegar
2-3 c. Plant-Based Milk (I usually use almond milk)
4 c. Pasta (gf for gluten free eaters like myself)
Spicy Sesame Topping
1/4 c. Diced Yellow Onion
1 tbsp. Coconut Oil
1/2 c. Raw Sesame Seeds
1 tbs. Red Pepper Flakes**
2 tbsp. Nutritional Yeast Flakes
½ tsp. Sea Salt
¼ tsp. Garlic Powder
¼ tsp. Ground Paprika
Fresh Chopped Parsley (for garnishing if desired)
Directions:
1. Preheat oven to 400°F. Cube butternut squash (you can leave the skin on), peel the garlic cloves, and place everything on a baking sheet with the coconut oil. Place in the oven for a minute to melt coconut oil then remove from oven, sprinkle with salt, and toss to coat. Put the squash back in the oven to cook, for about 15-20 minutes. The butternut should be tender and easy to poke with a fork.
2. While the squash is roasting, make the Spicy Sesame Crumble Topping. In a large skillet melt the coconut oil. Over medium heat, toss the diced yellow onion and sauté until translucent but not quite brown. Throw in the sesame seeds and seasonings, tossing often so your mixture does not burn (about 3-5 minutes). One your seeds start to brown, remove from heat and transfer to a large plate to cool.
3. Transfer the roasted squash and garlic to a blender with all ingredients except for the milk. With the motor running, add the milk until the desired consistency is reached: you are looking for a very thick, yet pourable sauce. Add milk until the blend is smooth, creamy and just the right consistency.
4. Set a pot of water on to boil with plenty of salt. Cook pasta according to package directions. Drain, and return to the pot.
5. Pour sauce over the pasta in increments and keep stirring so that it folds into all of the nooks and crannies. You should be able to use up all of the sauce, but if you have any leftovers, serve them with the finished dish or store in the fridge for up to 3 days.
6. Turn down the oven temperature to 325°. Transfer the pasta to a casserole or baking dish. Sprinkle the top generously with the Spicy Sesame Topping. Bake until warmed through, slightly crispy, and golden on top, about 20 minutes. Garnish with chopped parsley, if desired. Serve hot.
Notes:
*I typically purchase Bob's Red Mill brand nutritional yeast. It comes in a decent sized bag and lasts quite a while. Also you can literally buy like anything on amazon these days... so here's a link if youre interested: www.amazon.com/Bobs-Red-Mill-Large-Flake/dp/B000WLCHDA/
**Feel free to use more or less red pepper flakes based on your own tolerance for spicy things. I usually add another tablespoon because I like mine pretty spicy--but hold back when I have guests.
